
Basic Steps – How to add products in woocommerce for an E-commerce website. Step by step guide to add products in your store.
WooCommerce:
WooCommerce is a free WordPress plugin that adds e-commerce functionality to your WordPress website so you can have an online store.
Step 1: Install WooCommerce and open your WordPress dashboard.
Step 2: Go to WooCommerce > Products. Then, click Add New to create your first product
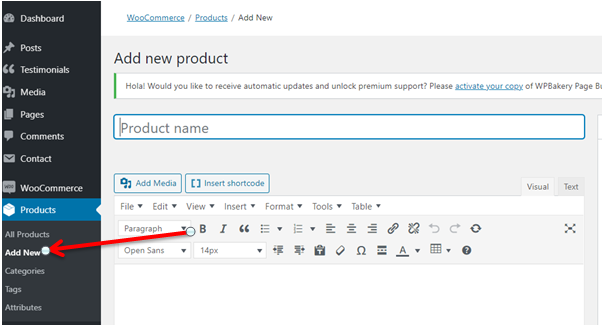
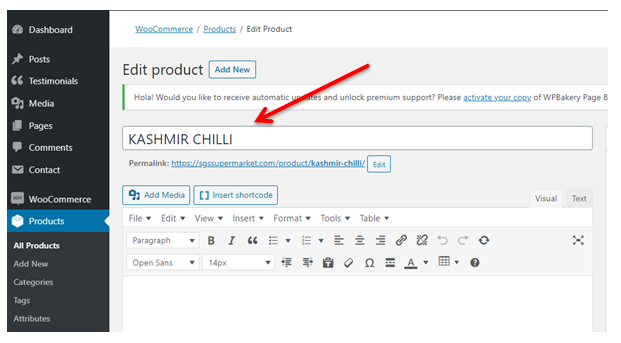
Step 3: Enter the name of the product in the Product name section
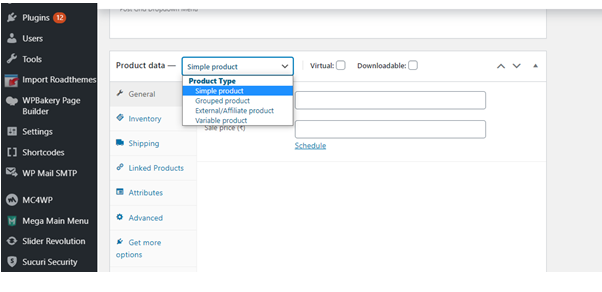
Step 4: Choose product type from the product data drop list.
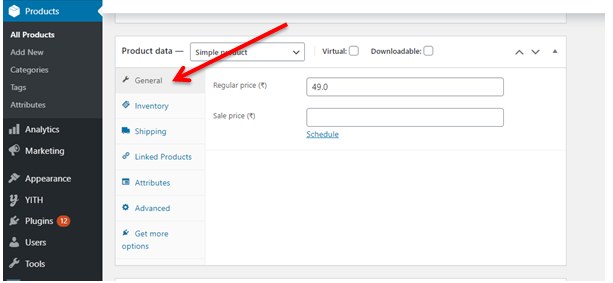
Step 5: Fill out the product data meta box.
General tab: Under the General tab, enter the price for regular and sale price.
Inventory tab: The Inventory tab helps you effectively manage stock.
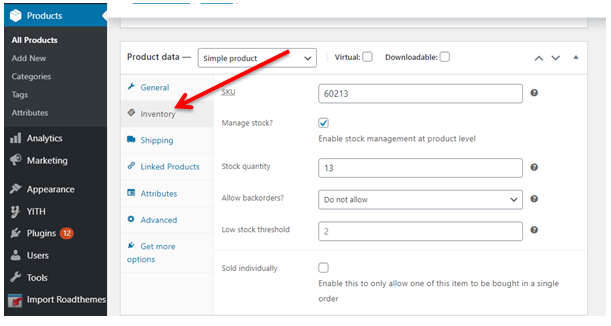
- SKU is a unique identification number available on every product
- Enter the number of pieces available in the stock quantity
- Allow back orders if the product is being manufactured and will be available soon.
- The low stock threshold will notify you when the product’s stock goes below the threshold.
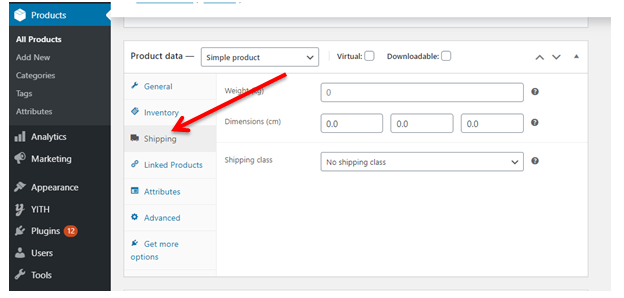
Shipping tab:
- In the Shipping tab, you can control important details about a physical product for shipping
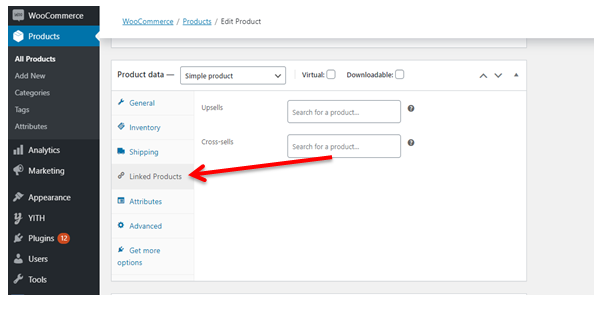
Linked products tab:
- Linked products are recommendations to improve store revenue.
- There are two ways to accomplish it : cross-sells and up-sell
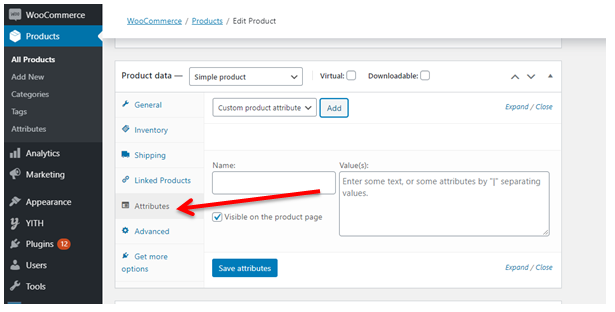
Attributes tab:
- Attributes will help you set things like color options, sizes, and more. Attributes and variations
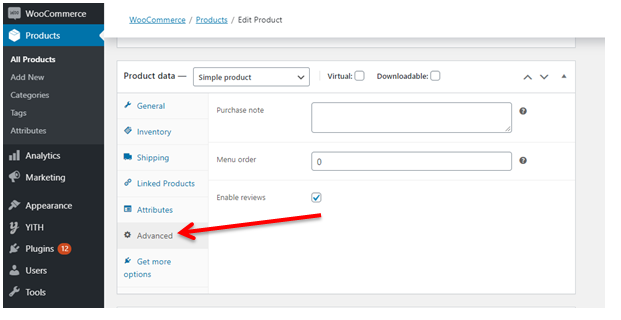
Advanced tab:
- The Advanced tab can be used for adding a purchase note that appears after placing an order.
- You can also enable customer reviews.
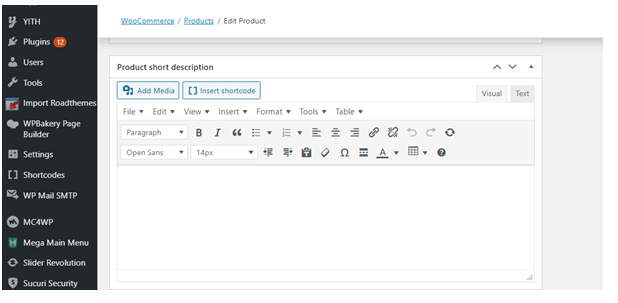
Step 6: Write short description about the product in the Product short description box.
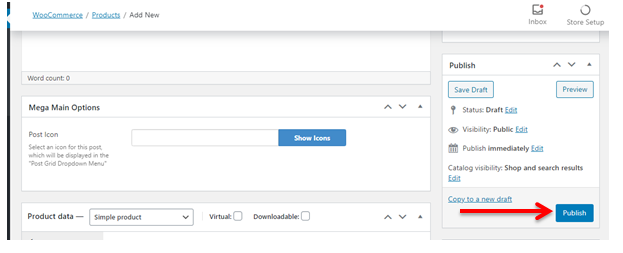
Step 7: Click the publish button
Once you double-check that all of the product details are correct, you can hit Publish to make your product live.
To know about WordPress Installation – Click Here